4 Causes of a Leaking Tap and How to Fix Them
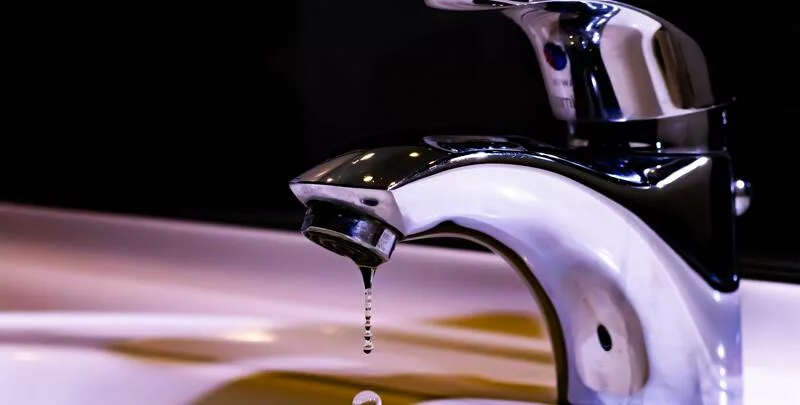
One of the most common problems you’ll likely encounter with the plumbing in your home is a leaking tap. If you’ve ever found yourself struggling to sleep because of a constant dripping tap sound coming from the bathroom or kitchen sink, you’ll know how annoying a leaky tap can be.
On top of that, though, a leaking tap can waste thousands of litres of water a year – water that you end up paying for. There are many causes of a leaking tap, and thankfully, most are relatively easy to fix. Let’s take a look at four of the most common causes, and what you need to do to fix a leaking tap.
How Does a Tap Work?
To understand what causes a leaking tap, it may help to understand how a tap works. Your hot and cold taps are connected to the pipe in your water mains.
There is a chamber in your tap which stores mains water until you turn it on. You turn the tap handle anticlockwise, which opens a valve inside the tap that releases the water. Turning the handle clockwise closes off the valve and stops the water flow.
A standard tap is made up of numerous parts that include the:
- Handle – used to turn the tap on and off
- Nozzle or spout – where the water comes out from
- Flange – covers the tap bonnet and is found underneath the handle
- Bonnet – located in the middle of the flange and spindle, and enables movement of the spindle
- Spindle – joins the bonnet and the tap valve
- O-ring – fitted to the spindle, and stops water from leaking out of the spout
- Body washer – also connected to the spindle, it acts as a seal to stop the flow of water when the tap is turned off
- Valve – regulates the flow of water, and can also be known as a jumper valve
- Tap seat – shuts off the flow of water when the tap valve makes contact with it
- Water chamber – the tap’s storage container that holds the water until the tap is turned on
- Pipes – the connection between your mains supply and the tap
Generally, a leaking tap will be the result of one of these parts being loose or worn/damaged over time. Excessive water pressure can also be a cause. Let’s explore further.

1. Replacing a Worn Tap Washer
Arguably the most common cause of leaking taps in your home is a broken washer that has worn out with repeated use. Also known as a jumper valve, this is luckily one of the easier parts to replace. You will need a rubber washer repair kit – your local hardware store should stock them. You may also want to lay out some towels on the floor in your workspace as you get about replacing worn out washers.
- First things first – grab some tools. You’ll likely need the essentials like a set of needle nose pliers, a spanner or shifting wrench, a Phillips head and a flat-head screwdriver.
- Shut off the supply at the mains before you start pulling your tap apart.
- There will still be water in your pipes. Drain out all the residual water by turning the tap on while you’ve shut the water off.
- Remove the button on the top of the tap handle. This is the button that differentiates between the cold and hot taps, but it also enables you to access the internal tap components. You should be able to pop this off with your flathead screwdriver.
- Once you’ve removed the button, you’ll find a screw that allows you to remove the handle.
- Use your spanner to remove the tap bonnet. You’ll then be able to access and remove the valve, which then gives you access to the tap washer.
- You might find your washer attached with a small screw. If this is the case, remove the screw with the appropriate screwdriver. Then remove the washer with your pliers or tweezers.
- Replace the washer with a new washer. As they come in different shapes and sizes, you may need to take the old one to a hardware store to get help in finding the right replacement. Once you have the right washer, you can set it in place on your tap with the pliers and then secure it back with the screw.
- Once you’ve fastened the washer and jumper valves in place, you can then reassemble your tap by reversing the previous steps.
- With the tap properly reassembled, you can switch the water supply back on. Hopefully you’ll have a leak-free, working tap once again!
When replacing tap washers, you might want to plug the sink hole. Line the sink with a small towel to avoid any damage caused by loose parts that come off when you’re taking the tap apart.
2. Replacing an O-Ring
If you’re faced with dripping taps while it’s turned off, the problem is likely the washer and jumper valve. However, if you’re seeing water coming out from the base of the spout or nozzle, then you most likely need to replace the O-ring.
Follow similar steps as above up to a certain point. Shut off the water supply. Turn on the tap to allow any water in the tap to run out, and remove the tap button and handle. You’ll then need to remove the tap’s cover plate.
Depending on the installation, the plate will either come straight off or you may need to unscrew it. Removing the plate will provide you with access to the spindle. If you have a wet spindle, it means you need to replace your O-ring.
Unfasten the spindle using your spanner. Remove the worn part either by prising or cutting it off. Replace with a new O-ring before winding the spindle back onto the tap body and reassembling your tap. Turn the water back on at the mains and, hopefully, everything will be back to peak working condition.
For greater efficiency, cover all bases by replacing both the washer and the O-ring at the same time. If you’re ever in doubt about choosing the right replacement parts, particularly about getting the correct size, take them with you to your local hardware store for professional advice.

3. Leaking Taps Due to Loose Components
Sometimes you might find yourself with a dripping tap due to loose parts rather than damaged components inside the tap. If parts like the O-ring or washer aren’t tight enough within the tap, it can result in water leaking from the nozzle and the cover plate.
Try tightening any parts that are perhaps looser than they should be. The improved security of those components will, hopefully, resolve your leaking tap issue. Be sure not to over-tighten, though, as you don’t want to cause further unnecessary damage.
4. Leaky Tap Due to Excessive Pressure
Even the best washers and O-rings won’t be able to stop a leak from the tap if the water pressure is too high. Overly high water pressure can stop the tap valve from restricting water flow from the chamber. This can result in water leaking from the nozzle of your tap, even when it is turned off.
As damage to pipes is the most common cause of excessive water pressure, your best approach to fixing a leaking tap in this case – your only approach for that matter – is to call a licensed plumber.
If in Doubt, Call a Licensed Plumber
Many of these ways to fix leaky taps are simple enough for someone adept at DIY work. They’re certainly within the scope of what an unlicensed and inexperienced person is legally allowed to do when it comes to plumbing problems.
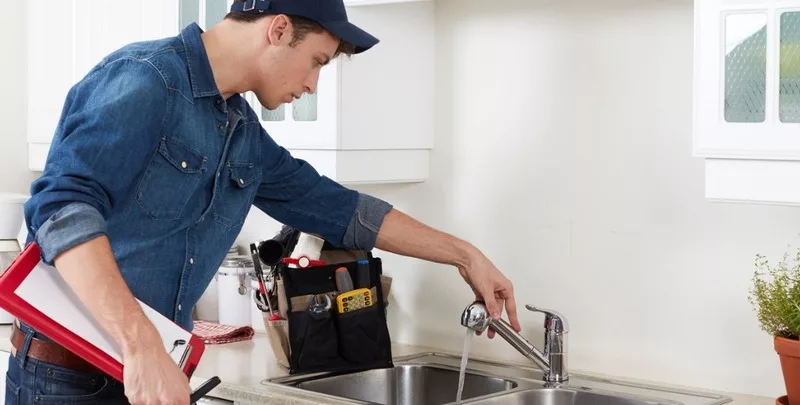
But if you’re not confident in your DIY repairs capabilities, or just want someone with the necessary expertise to just do a proper job and resolve the issue quickly, get in touch with a licensed, professional plumber. It just might be the safest and least stressful option to have you saving water and money, and who doesn’t want that?
Please note: This information is provided for advice purposes only. Regulations differ from state to state, so please consult your local authorities or an industry professional before proceeding with any work. See our Terms & Conditions here.
Published: 2023-01-18


